


I save my Sawdust for later use. It’s great as Putty with some CA Glue.

Sawdust and CA Glue does a great job of filling in Gaps so the lighter wood underneath doesn’t show. 🤔🙄

Some Gaps in the Bow I filled in. .. 🤔🙄


I have tried all kinds of stuff trying to get the Strakes to go down. I ended up pouring a bunch of Sawdust into the Gap and then pouring CA Glue into the Gap. It is nice and hard now.


I was running into tension problems with the Strakes as I was coming up from the Garboard Strakes, so I decided to go from Top to Down.

This Strakes basically runs the same curve as the Wale.

It Tapers from 5mm to 3.3mm ..

I got the Strake in all right into the Tuck, with a little help from my friend SuperGlue!!! ..
The main thing to remember is to press down on it hard for around 30 Seconds. .. 🤔🙄👍

Yeah, you really get into a Flow with this. . Like 5 Plank’s Worth!!! ..
You really get stuck doing a bunch just on one side because of the nature of the Glue going on in big areas. .. 🤔🙄

So far the Tuck is coming out all right.
I prefer building down and meeting somewhere in the Middle… 🤔🙄👍

Taking a Break! .. 🤔🙄😲
Going to listen to my girl Hilary Hahn for a bit! .. That was stressful!!! .. 🤔🙄😲


Yeah… You end up going in 5 Strake Spurts… 🙄🤔🤣
I put my Brush in a Large Pill Bottle so that it would stay moist the entire time I’m using it. Otherwise, if you leave it out, it will dry on you.


I’m using the .5mm x 5mm Sapelle Wood for the outer layer. It’s very similar to Mahogany. I had to special order some from eBay.
I am going to go with convention and call the Garboard Strake as the A Plank.

I glued in 5 Strakes without any Tapers. But now I will have to Taper down to 3.33mm to make them all fit to where the Wale are.
I wasn’t liking how the Planks met the Stem so I ended up putting Fillers in the Gaps.

It’s got a rough look but I like it. You have to figure a Ship like the HMS Endeavor was going to take a lot of punishment, going down to the Antarctic, etc. 🤔🙄😲

Garboard strakes or A strakes. The next two are the first broad or B strake and second broad or C strake. Working upward come the bottom strakes, lowers, bilge strakes, topside strakes, and uppers also named sequentially as the D strake, E strake, etc. The uppermost along the topsides is called the sheer strake. Strakes are joined to the stem by their hood ends.

I have been touching up with the Sanding and looking at the bare sanded ship now for a better part of two days. .. Thinking about how the next stage is going to go. 🙄🤔

This next Stage is pretty interesting but it takes a bit of preplanning.
First, I have to determine the line where the Wale, aka Rubbing Strakes, is going to run.
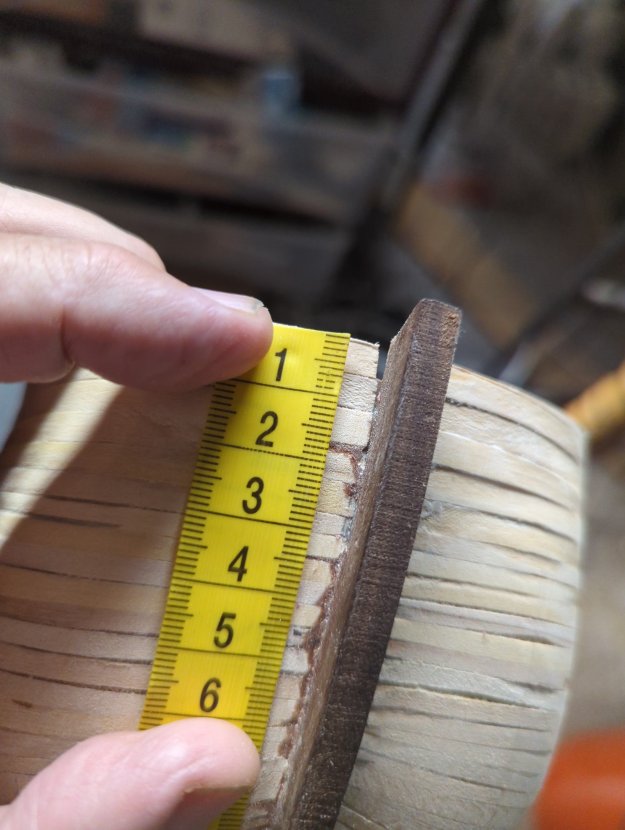
From the top of the Forecastle Bulwarks to the beginning of the top of the Wales is 46mm.


I did take some measurements but mostly I did it by eyeballing it and gave the Wale a nice bend to make it look more rakish and nautical.


After following the Instructions and the diagrams, I have come to find out that the Instructions were very deficient! ..
Now I’m having to rework the Bulwarks on both the Quarterdeck and Poop Deck, Main Deck and the Forecastle.


I will Plane the excess down and sand it.


I went over the entire Ship with 120 Grit. Now, I’m going through with my 220 Grit and just using Sandpaper without a Block.


I simply couldn’t resist and started Sanding before I got all the Upper Deck Sides in. It was just irresistible. 🙄🤔
I use 120 Grit Sandpaper that is supposed to go on a Sander but I cut it down to fit these Micro-Mark Hand Sanders.


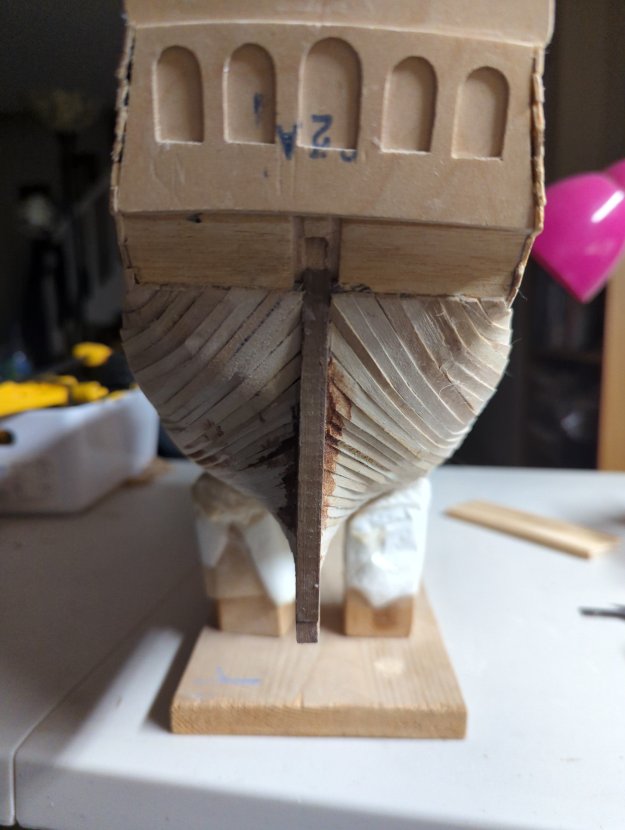
Mind you, this is all Pre-Sanding.


Those Straight Planks only needed to be Plane-d.
The only thing that required waiting was for the Contact Cement to dry.
Nun


🤔🙄👍