Started work on the Lower Gun Deck. These Gun Ports have a Faux Cannon that I stick into those Basswood blocks that I made before.
Bits ..I temporarily stuck a Gun into the Basswood BlockFitting Block behind Gun Port. The Block should be 17″ from the edge of BullheadGluing in the blocks
I use a combination of Dap Weldwood Contact Cement and SuperGlue for this.
All the faux-Cannon backs installedThe faux back painted
I found that around 17mm from the edge was the idea distance for the Cannons to protrude.
The Kit didn’t specify using blocks behind the Gun Ports. They wanted the builder to figure it I suppose. I had some spare 25mm Basswood Blocks lying around which I used for this.
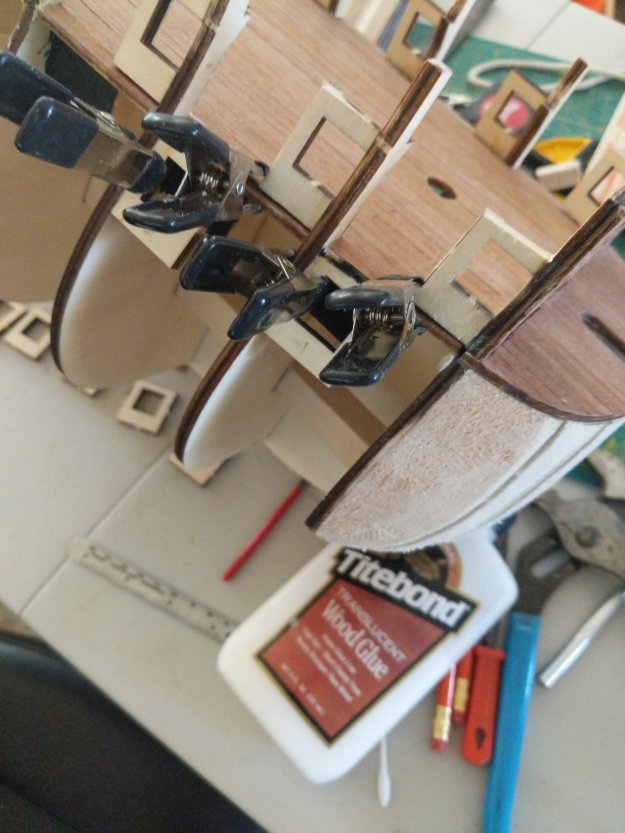
I used Titebond TranslucentClamping them in with Titebond
The Instructions tell you to use Contact Cement but White Glue is just as effective and way less messy! Also you get a few seconds to make adjustments before it grabs too hard to move.
I just Plank over the Gaps and take them out laterI line the insides of the Notches with SuperGlue to harden it
So these Gun Port Doors. They require custom work on all of them because I first have to adjust the Widths so that they’re the same as the Gun Ports.
I figured out that if I make the “Hinges” the little slat that I glue on the end and put 2 wires to simulate Hinges. I taper these 2 Slates so that when I insert them into the Gun Ports, they slide right in.
Last 2 left on Starboard side…Gun Ports Starboard side done…
The Starboard side became a bit of a free for all. I knew it was misaligned from before but I ended up going from the King Fish Look… Now it’s ending up being like a… I don’t know what.
I tapered the planks down to approximately 2.5mm.
This is where I am now…
Do I have enough room for 2 more???… That is the question.
And look at what I have going on in the Stern!…
Hmmm… Not pretty. I have one off shaped hole for s Stealer
This is what happens sometimes… These things happen. And it’s up to the skill of the model maker to find a solution so that it doesn’t look like it was ever a problem… Hmmm what to do???…
Yeah… I’m going to have a few crazy planks, I can tell that right now!!!
Ok, I got some wonky ones… Totally improper but I’m just going to stick them in.
That point… Hmmm… 🤔I know it’s weird but I had to use that space to not overstress that Plank. The end by the Bow was riding as it was… So I used SuperGlue to glue it down.
So here is the Starboard side so far with the Filler planks in… I mean… It doesn’t look too bad.
Starboard side almost done
As I work to making all these oddball Filler Plank sizes… I must say that this is probably one of my favorite parts about this hobby… Making these pieces. It’s especially rewarding when I use the Dremel to carve out a piece and when I go to try it out in the vacant spot and it fits perfectly. I’m getting better and better at that. Getting it right on the first try.
Here’s some of my odd shaped Filler Planks… The Starboard side was worse than the Port.