This Dap Weldwood Contact Cement works pretty good for doing this 2nd Layer Plank work.
With the exception of one thing. I have found that often I would have to use supplemental gluing for the areas that are experiencing Pressure. Primarily on the Bow and Transom.
The Bow, I’ve basically cured it by using my Jig and prebending the Planks before applying the Contact Cement. In other words, I don’t apply the wood and force it to bend around the Bow. The first few times I did this, I had to use SuperGlue and hold it down for a minute or so.
I’m not a big fan of SuperGlue. I’m skeptical whether it will come apart in a future date.
So… I try to use the Titebond II Wood Glue with a Clamp to hold it in place, if u can help it.
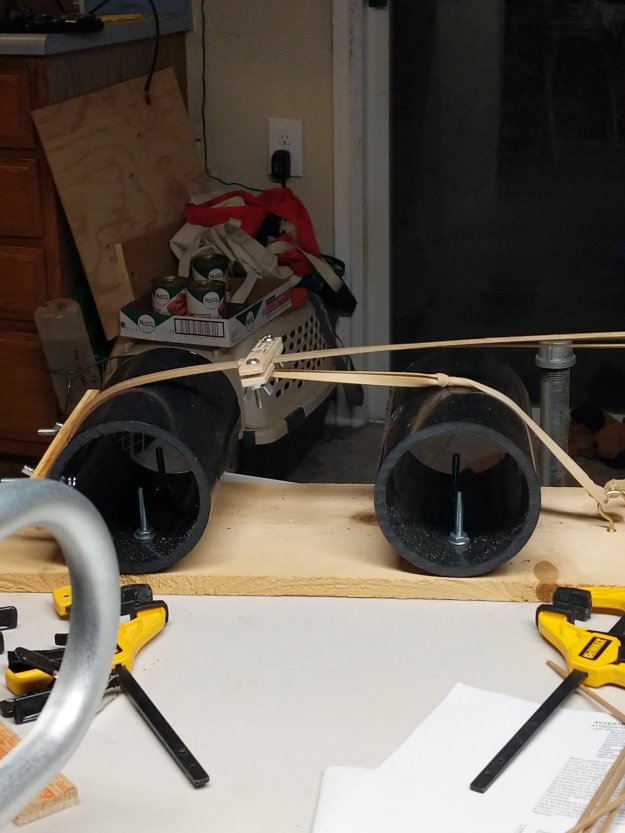
Here, I’m clamping some boards that weren’t tight enough on the Transom.
Looking at the HMS Surprise this morning, I am just thinking that it’s almost ready for these Wales… Although I did make a few micro-adjustments here and there and a few areas of Puttying, which I have to wait until it’s hard before continuing. Of course they were around the Gun Ports. Besides I have to wait until morning to turn my compressor on to blow this ship before using the Contact Cement as to not disturb the neighbors.
Just waiting until the Sun is shining.Bending Walnut around JigPre-Bent Wales ready to goCracked Walnut Stock
The above two 2mm x 2mm were the ones that cracked on me last go around. What I did was to re-soak them for 2 more hours in 1/2 cup Ammonia to 1 cup Water in my Plank Soaker.
Then, I turned the wood 90° so that the wood would perhaps take the bend in that direction a bit better… I’ll tell you in a moment.
The 2 pieces I cracked… I turned it 90° to attempt the bend in that direction instead.The one on the right cracked very slightly but it wasn’t too badBending… I put that 2nd board on it to stop cracking on the one on the right.Yeah… This bend came out clean!!!
I originally found out about this glue while watching an Instructional Video by Modelers Central. It was a video on doing the second layer or Veneer Planking.
He applied it to both sides of the surfaces to be glued, then he said to wait until it’s “touch dry”… which he demonstrated by simply touching the surface and it wasn’t unduly sticky.
Anyway, I have yet to use it for that purpose.
But, I have found that it’s a godsend for doing my current work.
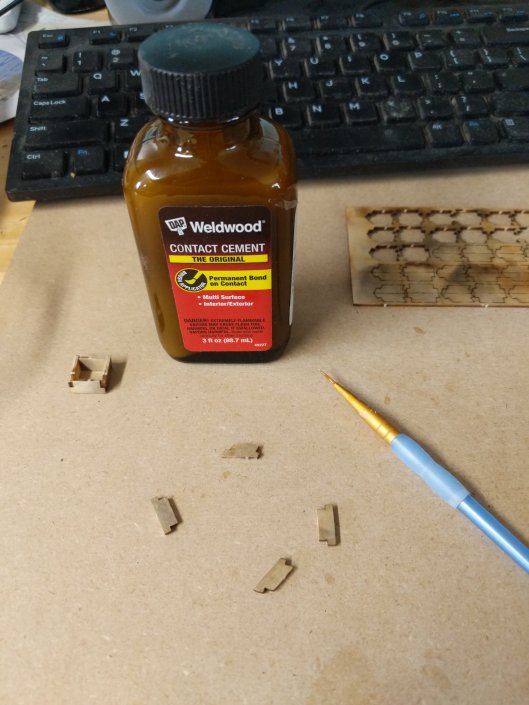
I am building these Gun Carraiges, which consists of 9 small parts. I decided to try this glue out on them by coating both sides of the small parts and waiting for the 15 minutes. (Which is a decisively unfortunate aspect of using this glue)
I also found them to be handy while making my Gun Ports as well… which consisted of 4 small parts.
What I like about it is the fact that it’s way less messy and less “unruly” than using Superglue and also Aleene’s The Ultimate even. Aleene’s is similar to being a Contact Cement, however it’s really messy I’ve found. Although it does have a strong bond once dry. As well as this Cement as well.
So for the small work, this cement works really good and I recommend it.
By the way, if you use a Brush or something to apply this Contact Cement, a really good way to clean the Brush afterwards is to use Turpentine.
I love this Cement for a lot of different applications. When you require the pieces to grab and then hold together.
I often “harden” the joined pieces with Super glue, which I simply dribble into the crack and wipe away the excess…
I found out on my latest build that this stuff is very Caustic.
I thought it would be a good idea to pour a bit into a Plastic Container to dab my Brush into. Well… It ate right through the plastic in record time!
Also I poured some into a Plastic Pill Bottle, which I drilled a hole into to hold the Brush.
Plastic Pill Bottle Brush Holder
Yeah… You’d think it’s a great idea, right???!!! .. WRONG!!! .. The fumes inside the bottle ate right through the Plastic Brush Handle!!!
The Pill Bottle seems to be holding up well for holding the Cement in there though. 🤔🙄