The pieces for the Bulwarks provided by Artesania Latina were these big blocks of wood with a laser cut that only traced the line of the Bulwarks and they were much too thick and easily broken.
Pieces that were provided
I decided to make some different Bulwarks by bending some 1.5 x 5mm wood instead.
Bending the wood after soakingFirst Bulwark Front view
I used some Contact Cement and then used some CA Glue.
Piece provided by AL
I think a thinner piece of stock gives it a more authentic look… 🤔🙄
Cut out the CenterBending the 2nd level of Bulwarks 2nd level of Bulwarks
I had to use different lengths because the Forecastle is so short. I used 30mm and 60mm instead of the 40mm and 80mm of the Main Deck and Quarter Deck / Poop Deck.
Forecastle Plank length 30mm and 60mmStarboard side done…Forecastle finishedThese are the .6mm x 5mm Planks that’s left
Getting ready to make the Columns which will hold the Pinrails across the forward part of the Forecastle.
The Mamoli Instructions don’t give any measurements for it so I’m going with 10mm with these 2mm x 3mm Stock.
Forecastle before Forward PinrailTitebond Translucent Wood Glue
I was having problems with this 2×4 Stock kept splitting on me.
I decided to try this Wood Glue on the outside of the wood to try and prevent this.
Wood coated with GlueLetting Posts dry
I used SuperGlue for this work.
I have to let it get nice and dry because the rail which the Pinrails go into bends down a bit so I’ll have to Clamp on the middle rail.
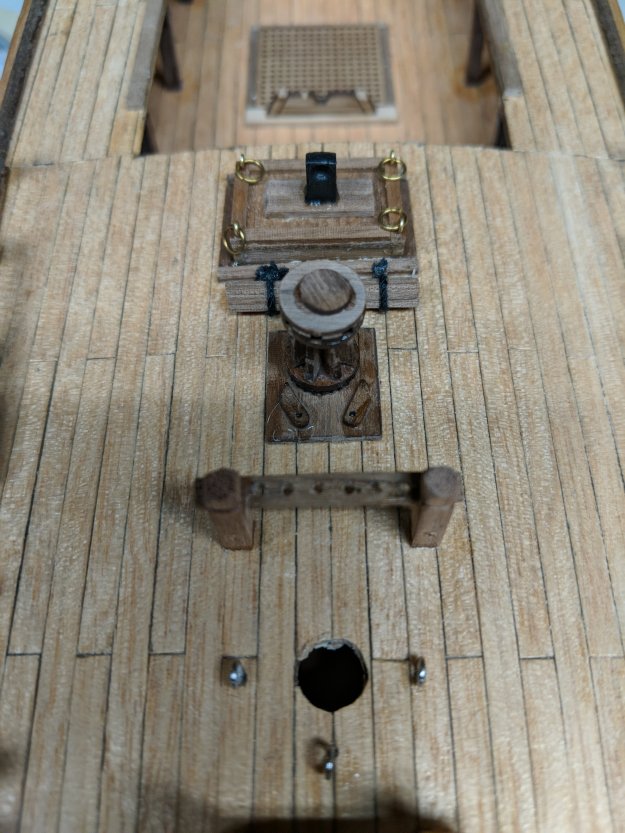
Clamping Rail to middle Column. Also I added the 1×2 Fillers in between the 1×1 Slats on bottom to strengthen the Posts as they stand.Dograil completed
It’s completed except for the Holes for the Belaying Pins.
I was looking at the Forecastle bulwark and I realized that I need to add some more Planks to it, so I added the Caprails.
I had the perfect wood for it too. Some Flexible Beechwood that I have for another project. I love this wood because it bends right around against the grain without soaking, etc.
Attached a 2mm thick piece of Flexible Beechwood
(Only problem with this wood is that it’s super expensive)
Last night I glued the Starboard side on with the Flexible Beechwood.
I glued it using alternative SuperGlue and Titebond II.
I worked pretty good. I did it like this because of sanding. That Contact Cement isn’t very sandable.
Anyway… On the Port side, I decided to use Dap Weldwood Contact Cement since there really wasn’t much sanding involved
Also to reinforce it, I added SuperGlue along the length of the seam… Let it soak a but and pressed it down.
One thing you have to do with deck planks to simulate the caulking that’s in between each plank using like a number 6 b pencil and what you do is you get a few and then you scribe a bunch of them at once. I’d say maybe you like 5 80 mm long planks and just put them on a clip and just use a pencil across them all. I made the mistake of doing it one at a time and it’s better to get a bunch at once.
1st Row doneI’m debating to leave this little gap in the Waterway… Hmmm… 🤔